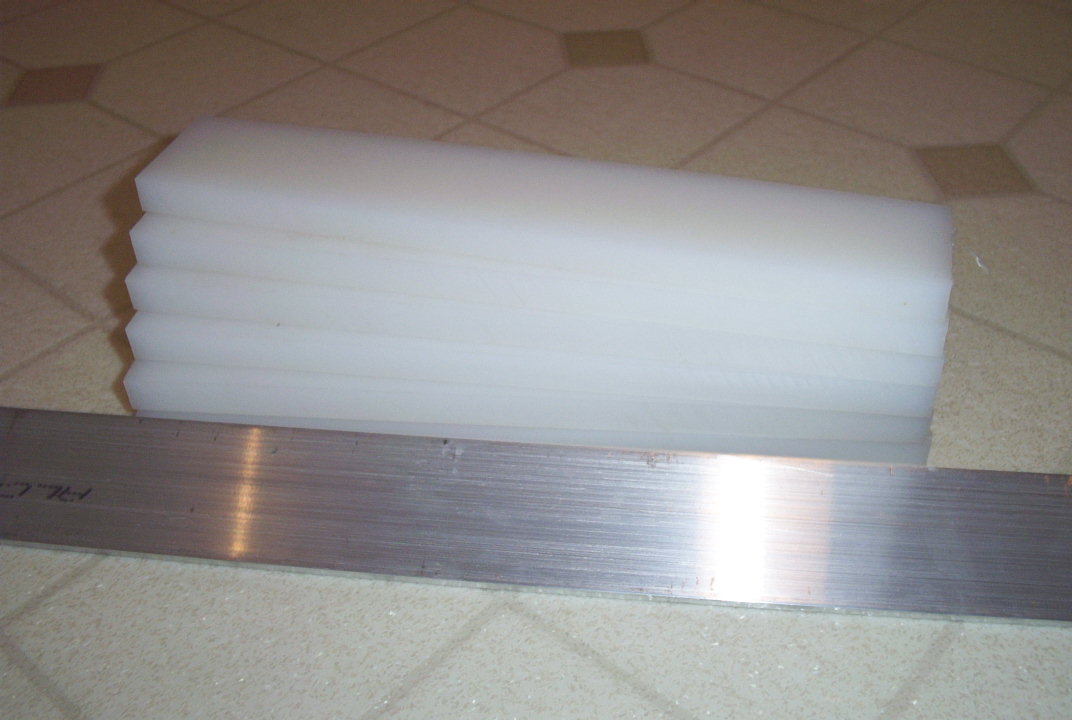
Now that the mill's here, I'm finally motivated enough to get progress done. While I'm still waiting for the endmills to arrive, however, I pulled out the chop saw and cut the 1/2" UHMW and 3/16" Aluminum into four 2" x 5.5" sections.
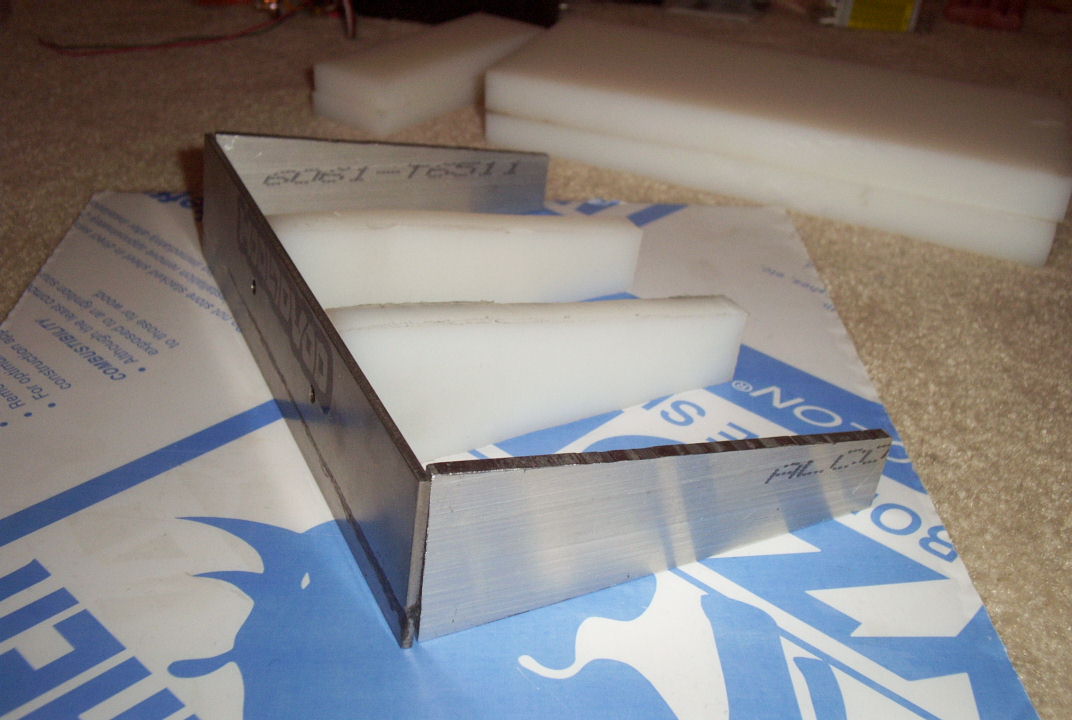
 Here's a shot of the pieces lined up in their relative positions by the Titanium front plate. These pieces will be tapered on the top and bottom, making them only 1" tall in back. This will allow Hooloovoo to be completely symmetrical on the top and bottom. Here's a shot of the pieces lined up in their relative positions by the Titanium front plate. These pieces will be tapered on the top and bottom, making them only 1" tall in back. This will allow Hooloovoo to be completely symmetrical on the top and bottom.
 Finally I received my set of end mills from MSC Direct for $92, and I started playing around with the mill. This is the end result after spending two hours of quality time with it. The cuts are a little rough, but hey... it's my first time, and the weird lighting makes it look much worse than it is. :) I'll probably cut the UHMW tomorrow. Finally I received my set of end mills from MSC Direct for $92, and I started playing around with the mill. This is the end result after spending two hours of quality time with it. The cuts are a little rough, but hey... it's my first time, and the weird lighting makes it look much worse than it is. :) I'll probably cut the UHMW tomorrow.

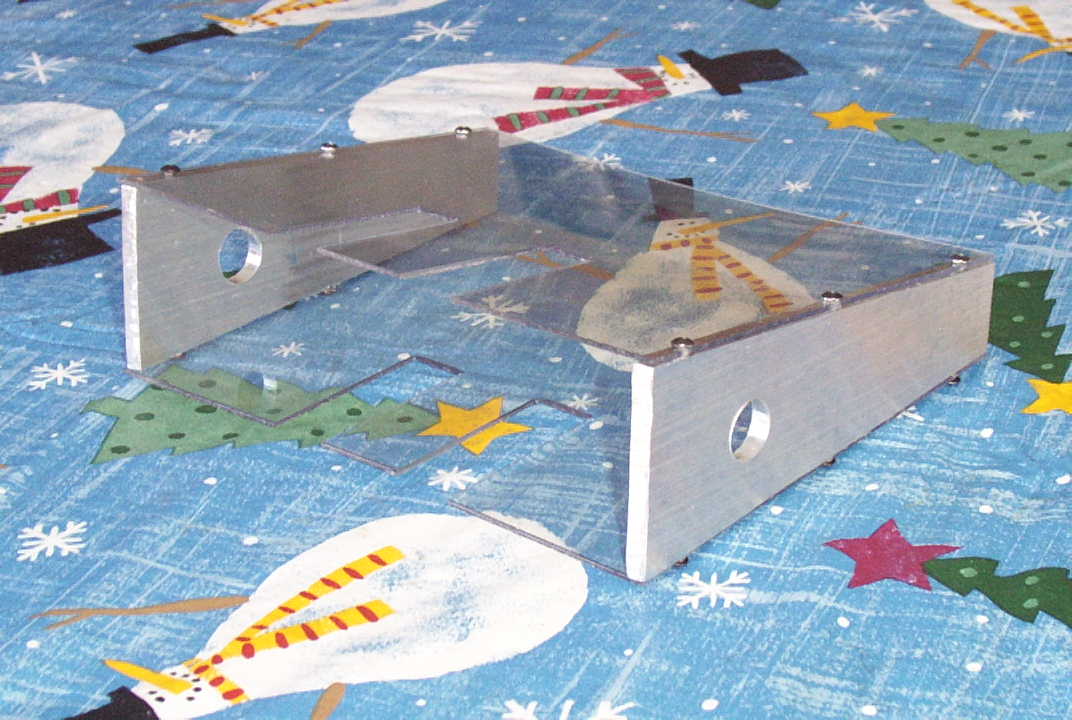
Here's most of the frame cut out. The first time I cut one of the UHMW pieces, it came out 1/8" too small somehow, so I had to go back and re-cut it. You'll notice that the Aluminum side pieces are all the way at the edge of the titanium now. I decided to put the tracks on the inside instead of having them exposed on the outside after I saw the scary spinners in the competition. Now I need to start CAD'ing to finalize the design.
|
 After I finally took Tier for a successful test drive, I started working on Hooloovoo again. Here is a piece of 3/4" UHMW that will soon be magically transformed into the dual-motor mount . After I finally took Tier for a successful test drive, I started working on Hooloovoo again. Here is a piece of 3/4" UHMW that will soon be magically transformed into the dual-motor mount .
 Voila. I know the picture's pretty blurry, but you can make out the basic design. it attaches to the Ti front plate of Hooloovoo via two machine screws. The motors are attached using muffler clamps. Voila. I know the picture's pretty blurry, but you can make out the basic design. it attaches to the Ti front plate of Hooloovoo via two machine screws. The motors are attached using muffler clamps.
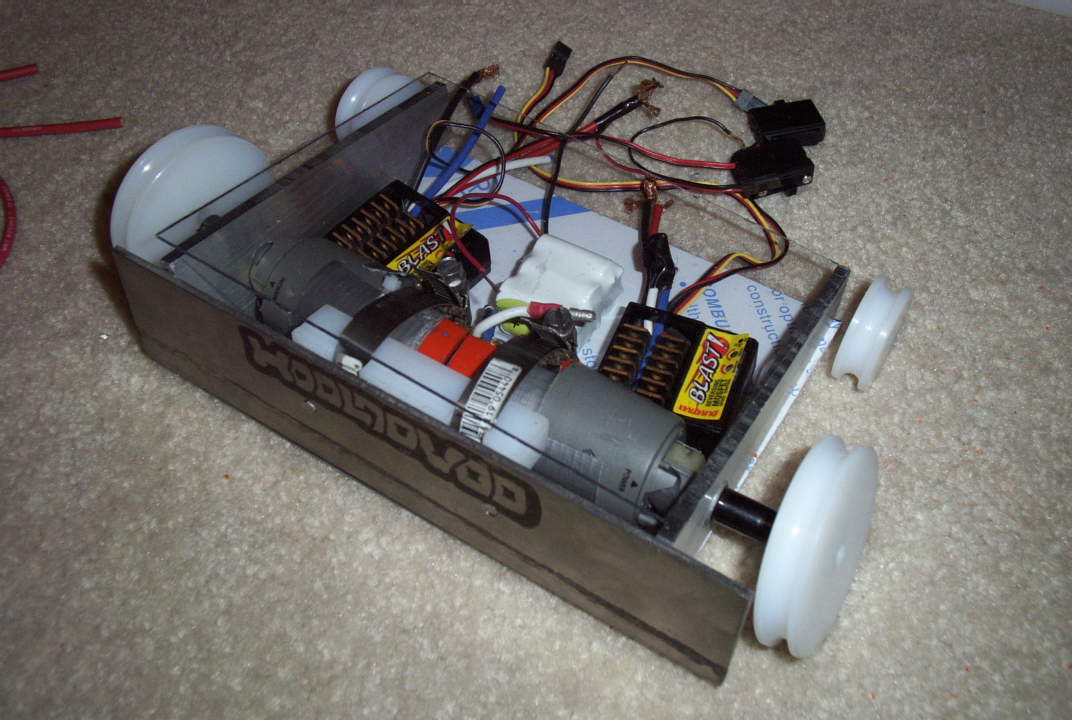
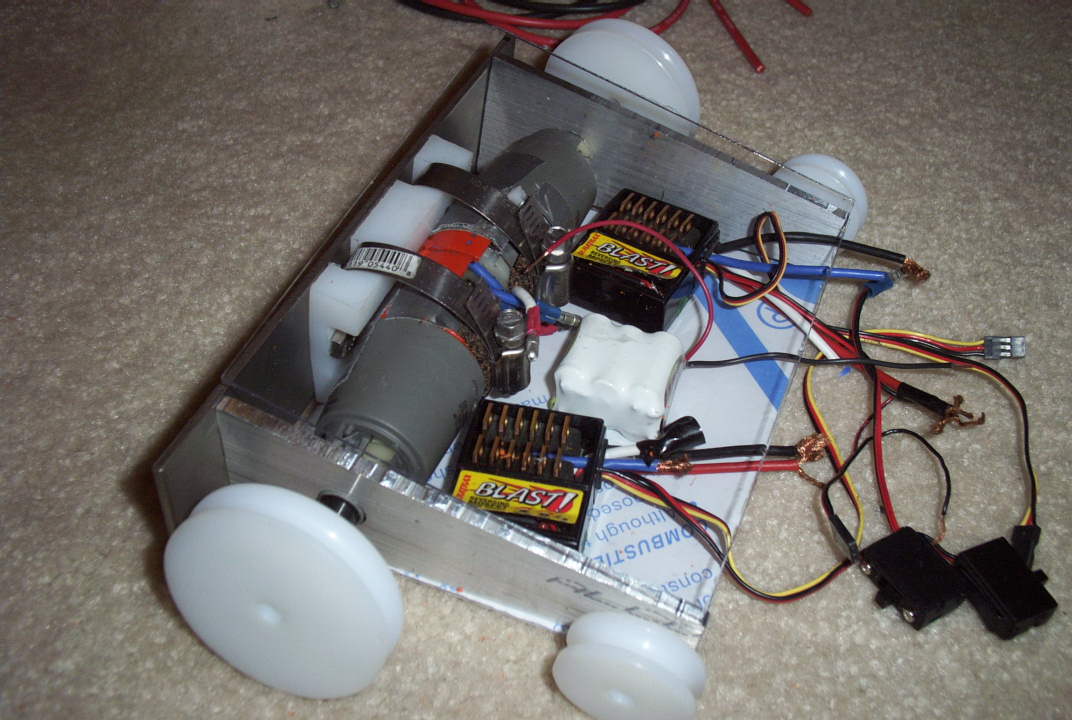
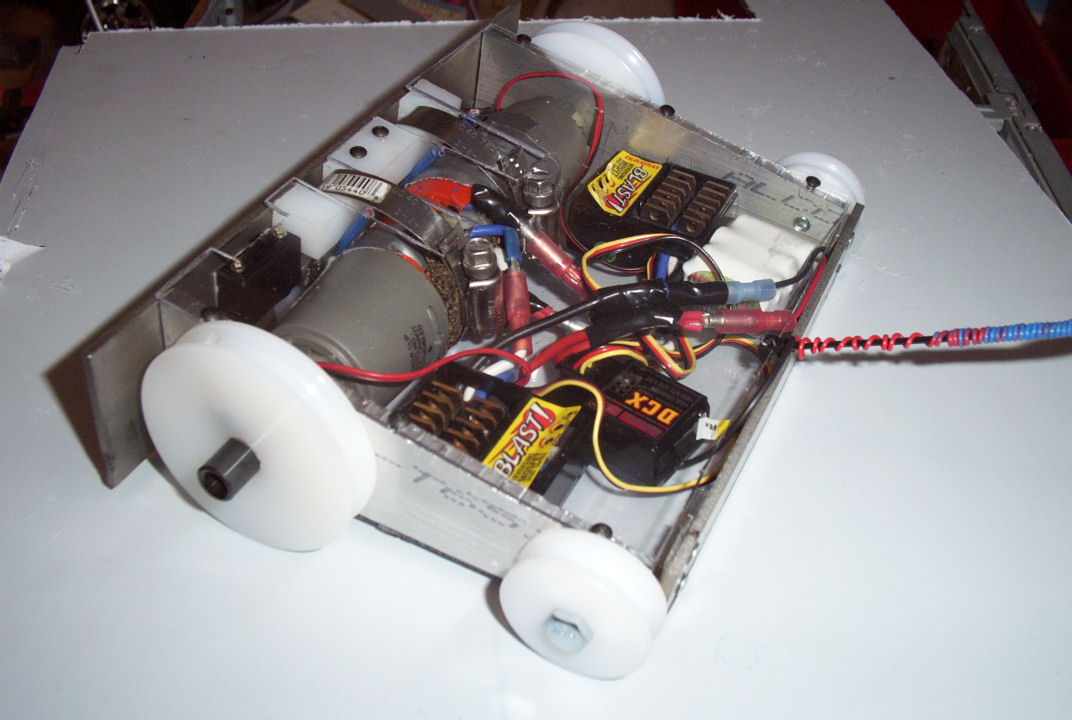
 As you can see, I've acquired some more items since I last updated. Shown are a 500mAh 7.2v battlepack, the pulleys for the tracks, and the 1/16" Lexan for the top and bottom armor. You can also see the motor mount attached to the Titanium and motors. As you can see, I've acquired some more items since I last updated. Shown are a 500mAh 7.2v battlepack, the pulleys for the tracks, and the 1/16" Lexan for the top and bottom armor. You can also see the motor mount attached to the Titanium and motors.
 Here's another view of the same setup. If the motors look slightly crooked, it's because they are. I'm doing all this hurriedly and don't have much time to do things perfectly. The slight offset shouldn't affect performance, though. Here's another view of the same setup. If the motors look slightly crooked, it's because they are. I'm doing all this hurriedly and don't have much time to do things perfectly. The slight offset shouldn't affect performance, though.
 Due to my bad designing, the muffler clamps holding the motors stick up past the top and bottom pieces of Lexan. To compensate, I cut two strips out with a pair of tin snips. voila. Due to my bad designing, the muffler clamps holding the motors stick up past the top and bottom pieces of Lexan. To compensate, I cut two strips out with a pair of tin snips. voila.
 After spending a frustrating hour with the 3/16" collet on my mill in my below-freezing garage, I was able to drill the twelve holes for the Lexan. I think it came out pretty nice, considering I didn't use a tap for the holes... After spending a frustrating hour with the 3/16" collet on my mill in my below-freezing garage, I was able to drill the twelve holes for the Lexan. I think it came out pretty nice, considering I didn't use a tap for the holes...
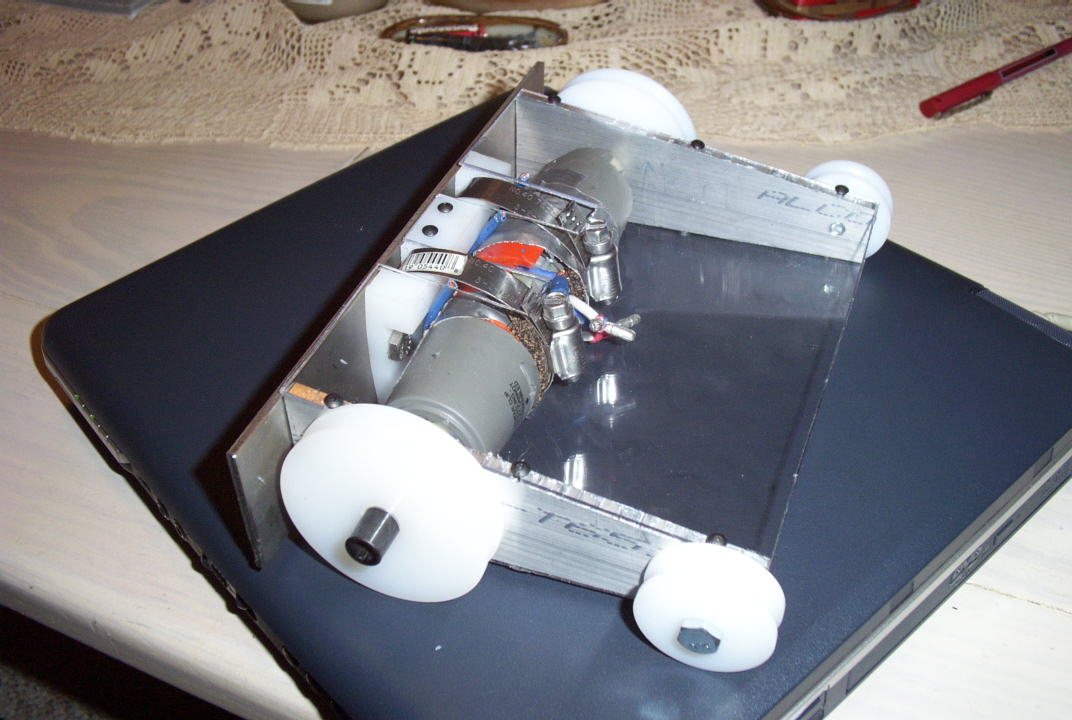
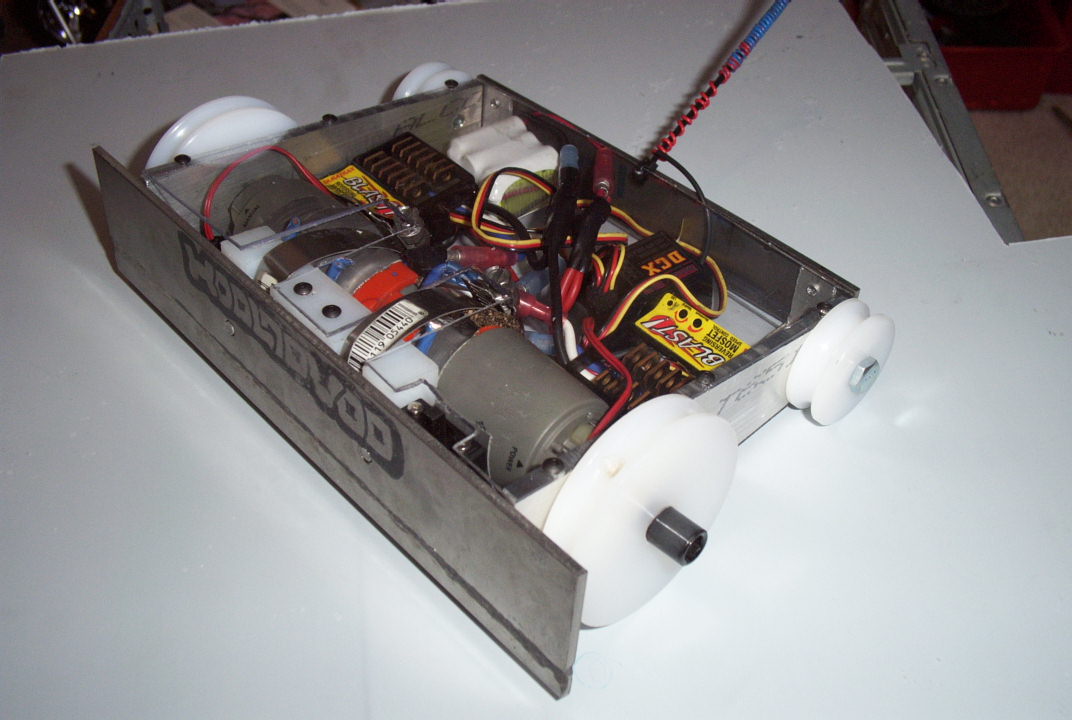
 Here is where we stand after a long day. (I work slowly, I know.) All that's left to do is make a back plate, buy set screws for the pulleys, buy the actual belts, and install the electronics. Here is where we stand after a long day. (I work slowly, I know.) All that's left to do is make a back plate, buy set screws for the pulleys, buy the actual belts, and install the electronics.
 Front view. Notice that the only place the Ti plate is attached is via the two bolts connected to the motor mount, which is pretty much floating there between the Lexan pieces. We'll see how it works... Front view. Notice that the only place the Ti plate is attached is via the two bolts connected to the motor mount, which is pretty much floating there between the Lexan pieces. We'll see how it works...
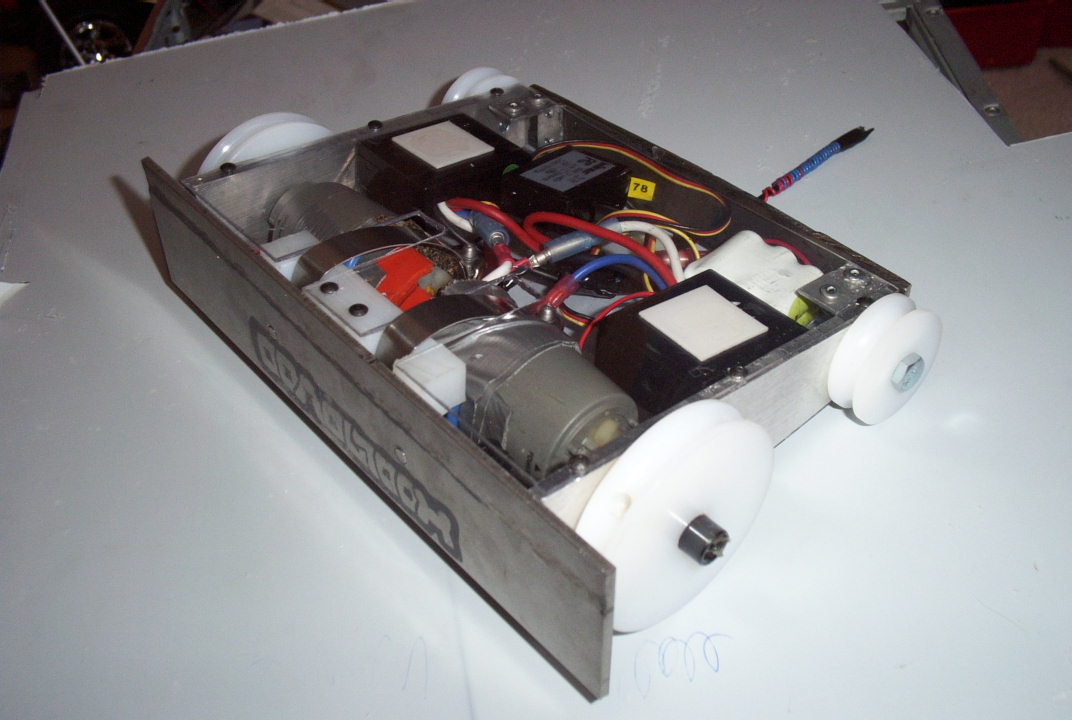
 I made a back plate for Hooloovoo out of 1/8" Titanium, but was only able to drill three out of the four holes i had planned for mounting due to the fact that I ran out of drill bits :-P I made a back plate for Hooloovoo out of 1/8" Titanium, but was only able to drill three out of the four holes i had planned for mounting due to the fact that I ran out of drill bits :-P
 Another front view... Hooloovoo is pretty much finished at this point.. just waiting for the belts from Mcmaster to arrive and I also need to pop out and buy a mixer since I fried the last one somehow at LTRC. Another front view... Hooloovoo is pretty much finished at this point.. just waiting for the belts from Mcmaster to arrive and I also need to pop out and buy a mixer since I fried the last one somehow at LTRC.
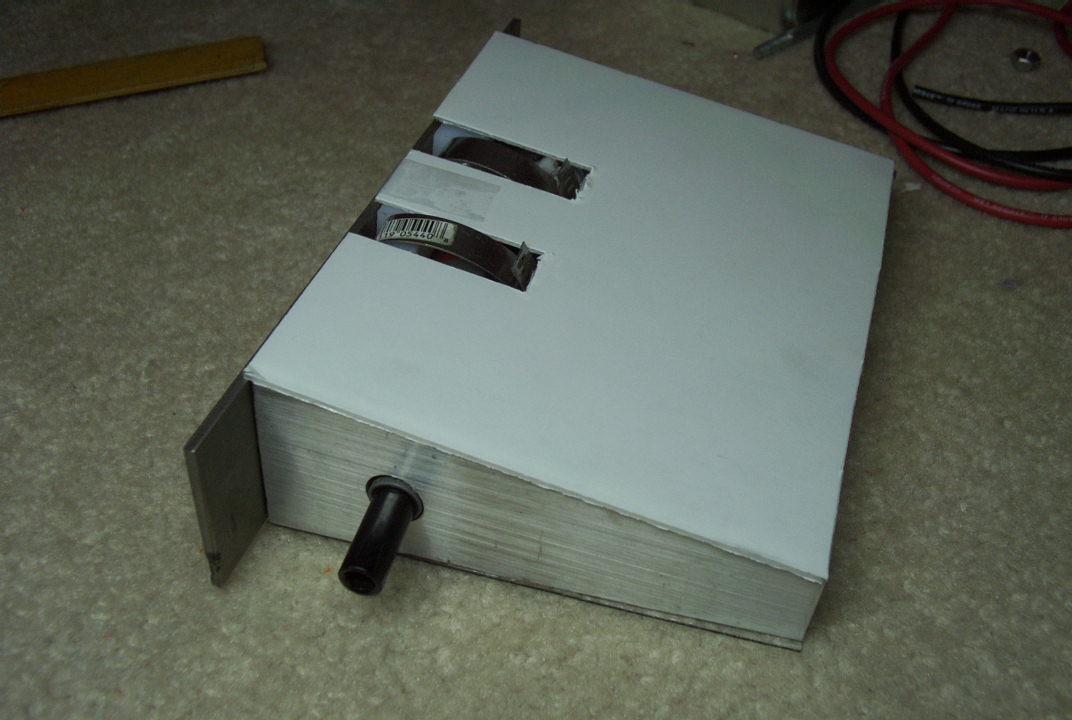
 Finally... a Hooloovoo that's invertable! The outside is completely symmetrical except for the antenna which is flexible enough not to cause a problem when upside-down. Finally... a Hooloovoo that's invertable! The outside is completely symmetrical except for the antenna which is flexible enough not to cause a problem when upside-down.
|

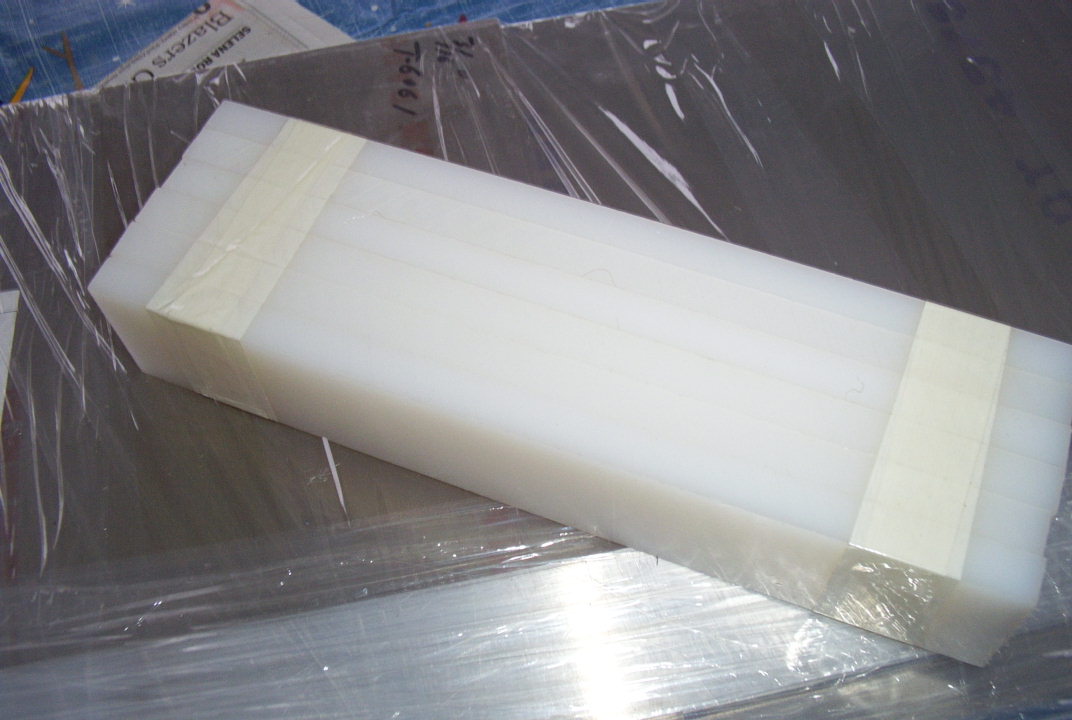 Here's the first item to arrive for the second build of Hooloovoo... 6, 1/2" x 2" x 12" bars of UHMW from ebay for the frame of Hooloovoo. It's probably much more than I'll need.
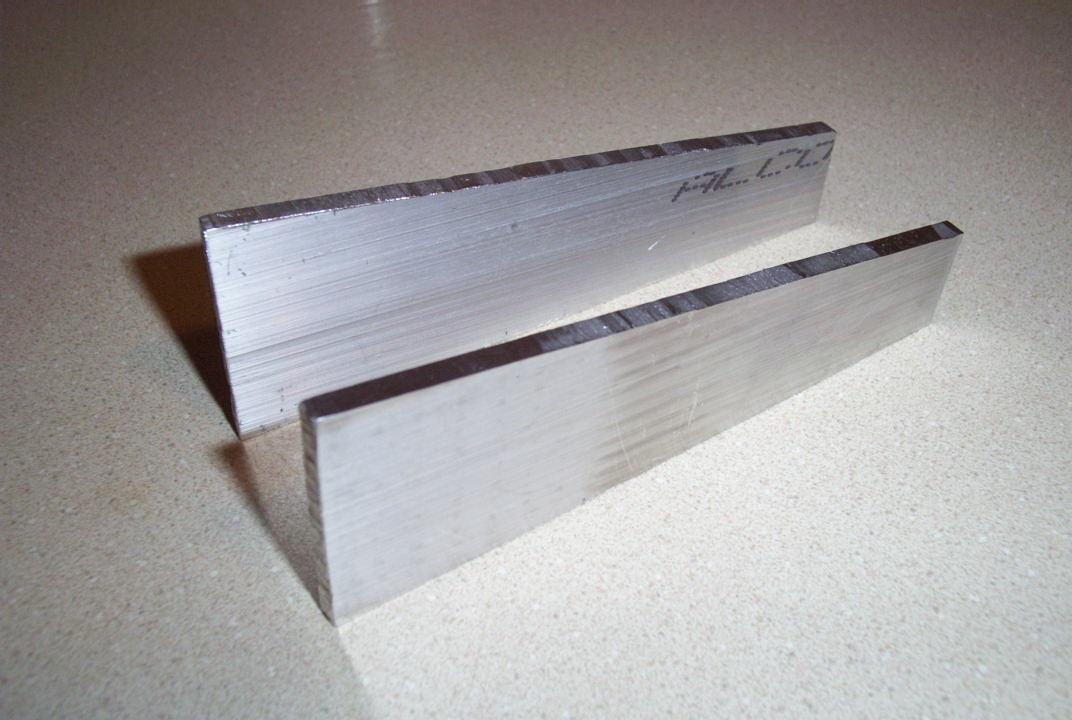
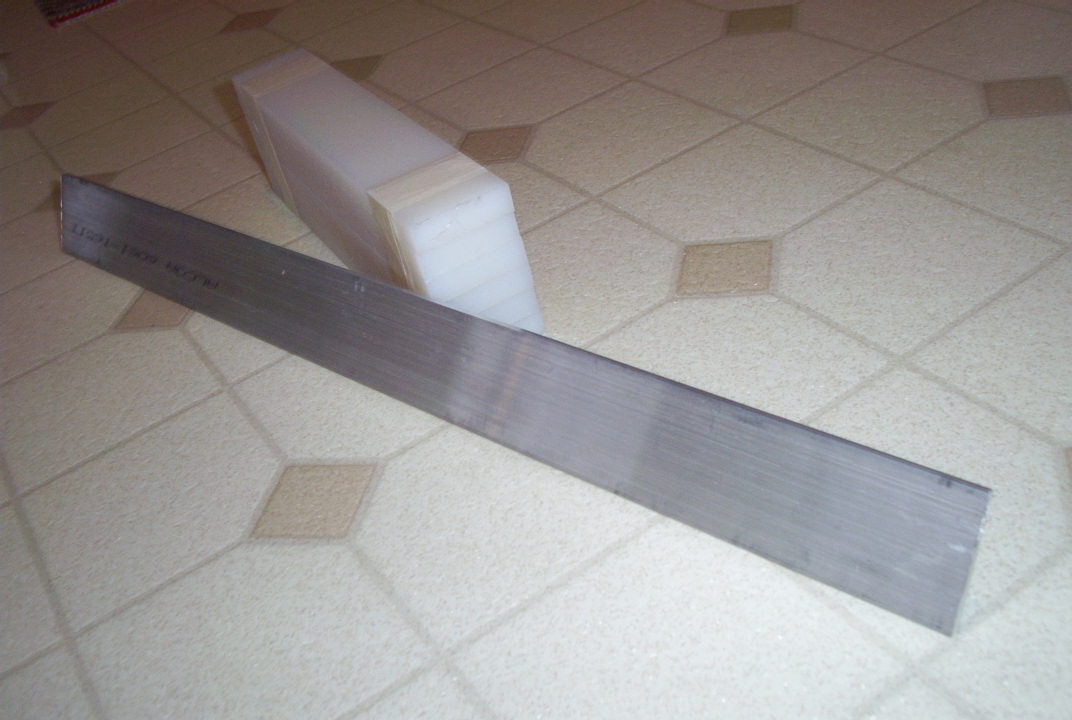 Also, from Online metals I ordered some 3/16" x 2" 6061 Aluminum for the side walls.
 Just another shot of the stuff. Once my mill gets here, I can start building..
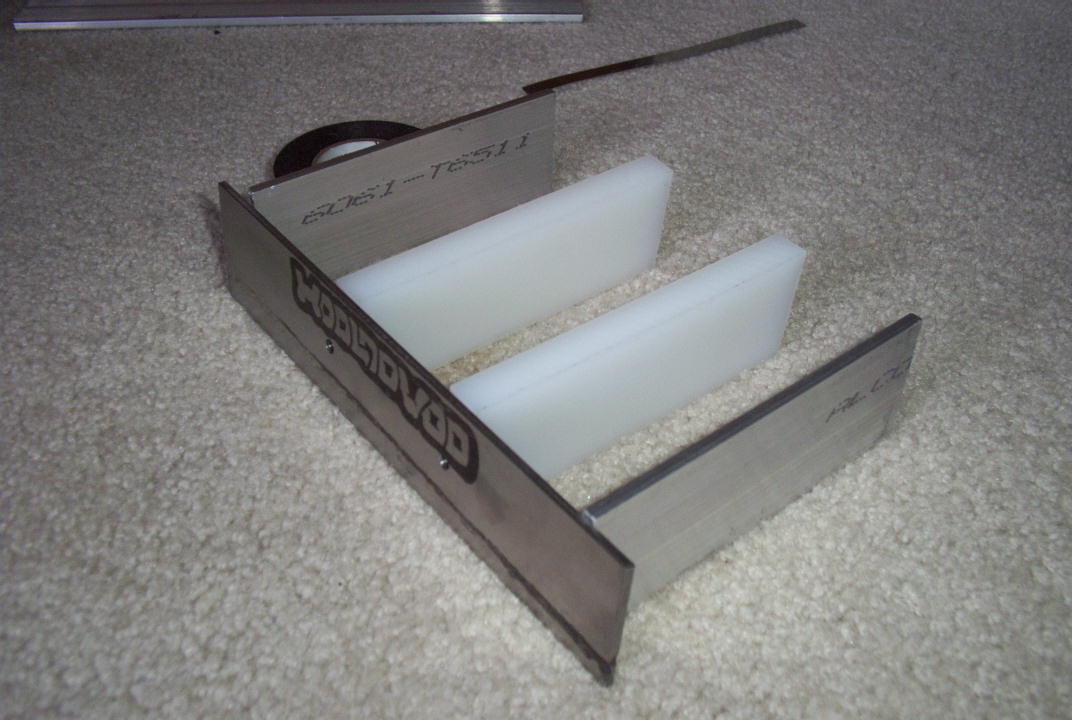 Here's a shot of the pieces lined up in their relative positions by the Titanium front plate. These pieces will be tapered on the top and bottom, making them only 1" tall in back. This will allow Hooloovoo to be completely symmetrical on the top and bottom.
 Finally I received my set of end mills from MSC Direct for $92, and I started playing around with the mill. This is the end result after spending two hours of quality time with it. The cuts are a little rough, but hey... it's my first time, and the weird lighting makes it look much worse than it is. :) I'll probably cut the UHMW tomorrow.
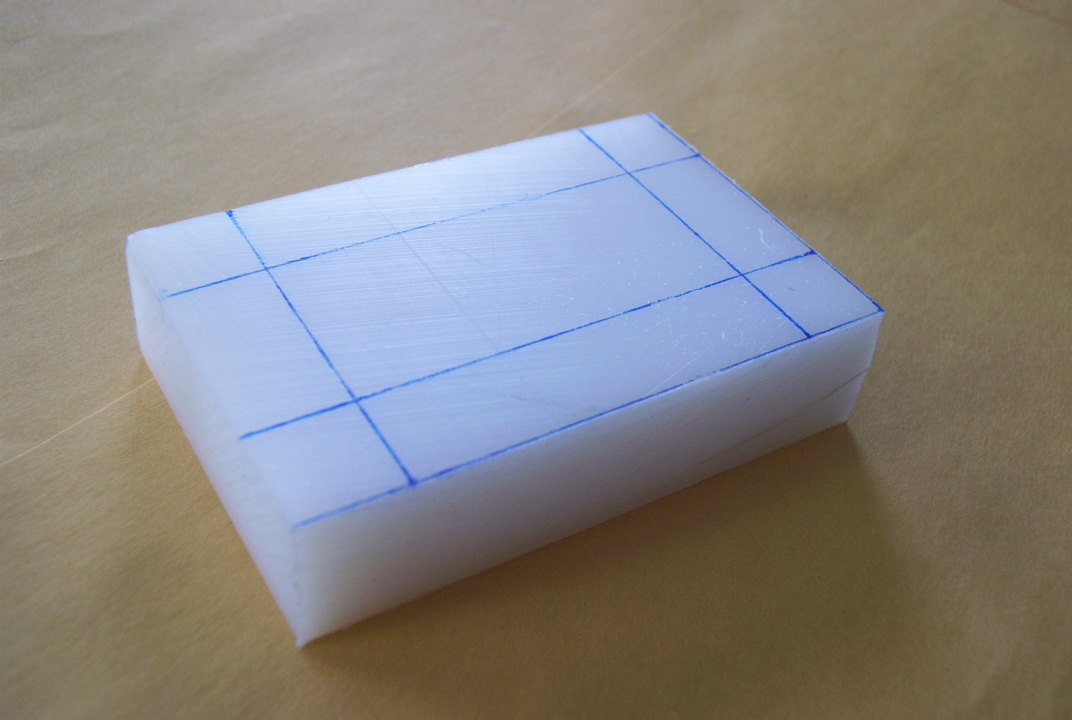 After I finally took Tier for a successful test drive, I started working on Hooloovoo again. Here is a piece of 3/4" UHMW that will soon be magically transformed into the dual-motor mount .
 Voila. I know the picture's pretty blurry, but you can make out the basic design. it attaches to the Ti front plate of Hooloovoo via two machine screws. The motors are attached using muffler clamps.
 As you can see, I've acquired some more items since I last updated. Shown are a 500mAh 7.2v battlepack, the pulleys for the tracks, and the 1/16" Lexan for the top and bottom armor. You can also see the motor mount attached to the Titanium and motors.
 Here's another view of the same setup. If the motors look slightly crooked, it's because they are. I'm doing all this hurriedly and don't have much time to do things perfectly. The slight offset shouldn't affect performance, though.
 Due to my bad designing, the muffler clamps holding the motors stick up past the top and bottom pieces of Lexan. To compensate, I cut two strips out with a pair of tin snips. voila.
 After spending a frustrating hour with the 3/16" collet on my mill in my below-freezing garage, I was able to drill the twelve holes for the Lexan. I think it came out pretty nice, considering I didn't use a tap for the holes...
 Here is where we stand after a long day. (I work slowly, I know.) All that's left to do is make a back plate, buy set screws for the pulleys, buy the actual belts, and install the electronics.
 Front view. Notice that the only place the Ti plate is attached is via the two bolts connected to the motor mount, which is pretty much floating there between the Lexan pieces. We'll see how it works...
 I made a back plate for Hooloovoo out of 1/8" Titanium, but was only able to drill three out of the four holes i had planned for mounting due to the fact that I ran out of drill bits :-P
 Another front view... Hooloovoo is pretty much finished at this point.. just waiting for the belts from Mcmaster to arrive and I also need to pop out and buy a mixer since I fried the last one somehow at LTRC.
 Finally... a Hooloovoo that's invertable! The outside is completely symmetrical except for the antenna which is flexible enough not to cause a problem when upside-down.
